Shu is waiting for us in the war room, but there are several things for us to wrap up before we continue. First, if you're like me, having Nanami gone just isn't going to do. You can use the Gameshark code: 3006AE22 0007 to add her back to the available party members. On the same subject, if you would like to use the Highland version of Jowy with a sword, you can use the code: 3006AE61 0007 and he will be available to use as well. This version of Jowy comes equipped with a Silver Armor, of which there is generally only one in the game.
Having acquired the last two guardian deity plans in Rockaxe Castle, we can now finish up this side-event by taking them to Jude near the Tablet of Stars. Below I will list the only reasonable choices to select and the items you will receive. Make your decision wisely, you can only do this once.
- Hunter Rune: Unicorn, Unicorn, Turtle, Unicorn
- Dream Robe: Turtle, Unicorn, Rabbit, Dragon
- Blue Gate Rune & Dragon Incense: Dragon, Turtle, Dragon, Unicorn
- Silver Armor: Turtle, Dragon, Dragon, Dragon
- Fortune & Prosperity Rune: Rabbit, Turtle, Rabbit, Turtle
- Fortune Rune & Dragon Incense: Dragon, Rabbit, Dragon, Rabbit
- Cyclone Rune: Turtle, Rabbit, Turtle, Rabbit
- Phero Rune: Rabbit, Unicorn, Rabbit, Unicorn
- Nanami's Vase: Rabbit, Dragon, Dragon, Rabbit
- Exertion Rune: Turtle, Rabbit, Unicorn, Unicorn
- Friendship Rune: Turtle, Turtle, Dragon, Unicorn
- Magic Drain Rune: Turtle, Turtle, Unicorn, Unicorn
- Earth Shield: Rabbit, Turtle, Turtle, Dragon
So, what to choose? The Dragon Incense, Fortune Rune, Prosperity Rune, Phero Rune, and Hunter Rune (Not counting the Epilogue) can ONLY be obtained through the guardian deity event. If you recall from the previous Suikoden, the Dragon Incense is a healing item that can be used infinitely in battle and restores the entire party by 50 HP. The Prosperity Rune increases your potch received after battle. Fortune Rune doubles the XP the character obtains from battle. A Phero Rune bearer will attempt to shield physical damage to a character of the opposite gender. While the Hunter Rune lowers your hitting percentage to just 5%, if you connect with an attack, the enemy is guaranteed to drop an item; there are also some strategies you can use to employ this better.
The rest of the items are of extremely limited quantities and this is your only chance to obtain more of them. I have the Nanami's Vase listed due to your ability to obtain it if you picked one of the other three rare vases back at Genkaku's dojo in Chapter 2. In my opinion, the choice comes down to what your intentions are with your save file. If you are like myself, and will be obtaining all of the best equipment for and doing setups for every character in the game, your choice should be the Hunter's Rune. However, completionists can also benefit from the Fortune Rune as Sigfriend must obtain level 70 and Hoi, level 80, to unlock their final rune slots. If you only care about your basic six characters you like to use, I would pick either the Dream Robe or Friendship Rune; depending on which characters you are using.
One last note, regarding the Hunter Rune. While 5% accuracy is terribly low, there are ways you can improve this. If an enemy is asleep, through either a Sleep Rune on a weapon or the Wind of Sleep spell, your attack will always have 100% accuracy. However, there are many enemies that resist or are immune to the sleep status. The single only thing you can do to improve on the 5% accuracy is to give the character a Double-Beat Rune so they will have two chances to land a hit in one turn; items that raise your hit % will not work. If you use Double-Beat, you will need to watch your HP, as you will take double damage from being countered.

With the guardian deity event behind us, warp back to Rockaxe Castle town, which is now open to us again. The armor shop has some new inventory and you can find the rare Robe of Mist in its rare finds, occasionally. Behind the one-of-a-kind Dream Robe, this is the best defensive robe/martial arts-type armor in the game. While it claims to provide the ability to repel magic, it actually does not, so you will have to settle with the defense and resistance to water attacks for its bonuses. In some cases, especially due to high physical defense, but low magic defense, a Master Robe may be preferred. This is the only place you can acquire the Robe of Mist. Also in the rare finds here, the rare Thunder God Garb from your previous visit will still show up here, as well as the Goldlet accessory.

Still inside the armor/item shop, go into the back and down the stairs and search the shelf here to obtain Old Book Vol. 11. If you go out the door and try to talk to the shop keepers, you will find, like the trading shop rumor NPCs, their dialogue isn't translated and you will only get symbols.
Go back inside of the underground passage that leads to Rockaxe Castle and follow it past where Riou, Nanami, and Jowy were confronted by Gorudo and you will enter a new section of the Castle. Before the stairs, talk to the Blue Knight here to obtain a Thunder Rune. Why's he guarding an empty room, though?
Climbing the stairs, you will reach Gorudo's private office. The chest here contains an Earth Armor. While rare, this armor cannot match the bonuses provided by the Master Garb. It also claims to resist status effects, but like the Robe of Mist, it is bugged and does not.
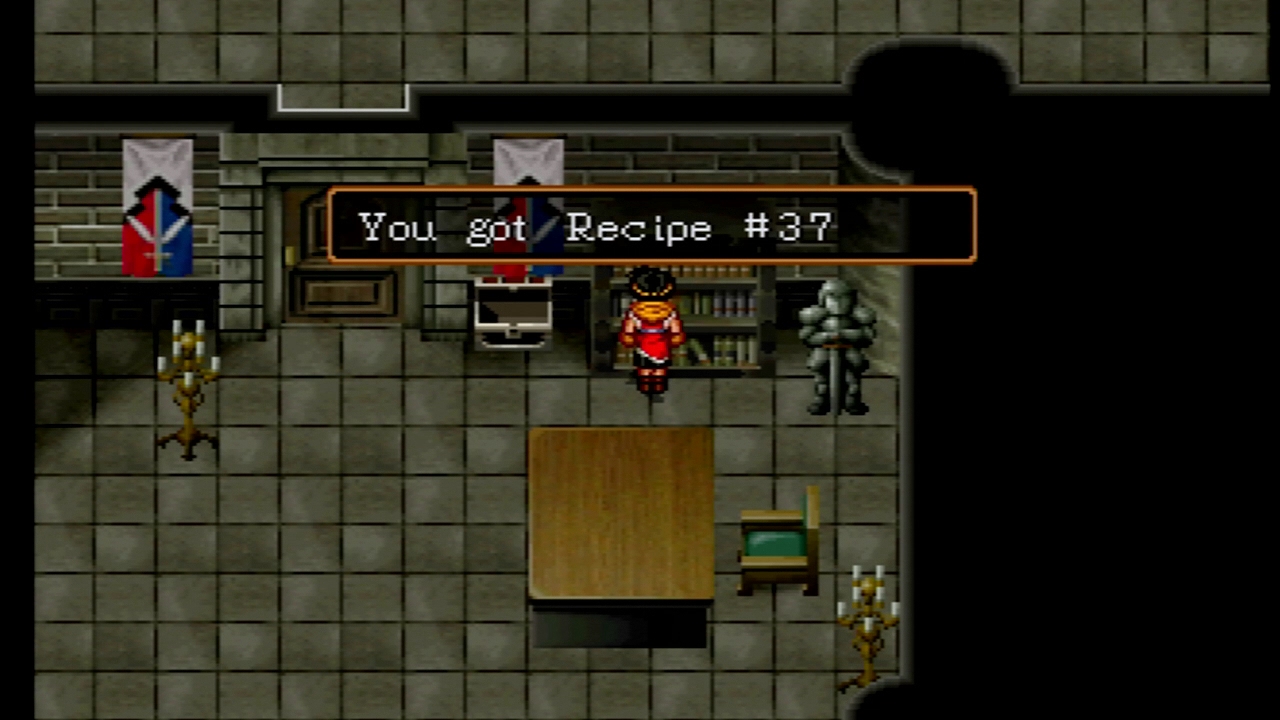
Lastly, you can search Gorudo's bookcase here for Recipe #37.
Trek all the way out of Rockaxe Castle (Escape Talisman won't work, sorry) and to the Highway Village. The calf salesman will have returned and will sell you, yet another, Calf item for Yuzu.
With Highland having pulled their troops, we can return to a population-devoid Muse City. Enter the lonely tavern and talk to the guy at the table to obtain your final book item, Old Book Vol. 12. When you take it and the one you got from the Rockaxe Castle town to Emilia at your Castle, her entire bookshelf should now be filled.
On the second floor of the rune shop, talk to the rune master here to obtain a Flowing Rune. Downstairs in the shop, the Fury Runes from earlier on still persist here in the rare finds.
At the armory, the woman at the counter will give Riou a custom-made Silver Armor; the only one in the game. While it doesn't possess the stat bonuses of the Master Garb, it provides an excellent +55 defense, +10 HP regen, and lowers damage from dark-elemental attacks. This armor is perfect for Riou, whom already has high strength and tech, the bonuses from the Master Garb, but only average defense.
Earth Armor can show up in Muse's armory's rare finds, if you are interested.
The final thing to look for in Muse is the last recipe in the game: Recipe #35. It shows up in the item shop's rare finds here. If you are doing the Clive side-quest, bring him to Jowston Hill and you will see the next scene between him and Elza. Only one more of these to go.
With the two recipes obtained in this Chapter, combined with finishing the Hai Yo cooking mini-game, Hai Yo's cookbook should now be entirely complete. However, we are still lacking just one item to be able to prepare every dish.
The enemies have also changed out on the Muse world map. The Copper Suns showing up here now will very rarely drop Rage Runes. This is your only source for outfitting your party with these. If you're curious about the screenshot, Jowy, under the hyper status, backfired one of his spells and nearly wiped out the entire party.
The Iron Moon enemies in the Muse area can also drop a rare antique: the Landscape Painting. Like the Fine Bone China from the last chapter, this is a rare drop, so be patient and appraise your ? Paintings frequently to see if you have obtained one. You cannot find this antique anywhere else. Note: You need two of these for a special bath scene.
All that's left for us to do is talk with Shu and march to L'Renouille for the decisive battle with Highland. I have provided above my setups for the final army battle of the game, if you are curious.
After giving Shu the order to advance, Riou will collapse outside the war room and the scene will switch to Highland. Jowy is performing a blood sacrifice of his wife, Jillia, to the Beast Rune in front of his troops. This turns out to be just a ploy of Jowy and Leon to raise morale and a doll was used instead. Afterwards, Jowy will collapse just like Riou had...That night, Riou will overhear a conversation betwen Shu and Apple where she will pick a "fire" card for Shu; foreshadowing events to come. The next morning, proceed to the war room to commence the operation.

Watch the scenes as the party prepares for war and Shu and Viktor alone will engage the forces of Leon Silverberg (I thought they said he was mortally wounded with Kiba?). There's nothing to be done in this battle but wait for Leon's troops to be lured into the forest area where a fire will be set. In the midst of the blaze, Shu and Leon will have a war of words. Apple will find the woods burning, but Shu is nowhere to be found. Thankfully, having been saved by Viktor, Shu will resurface and leave the final battle at L'Renouille in Apple's hands. You'll be outside the Muse-Highland Border and can talk with Hilda to rest and save as well as Apple to rearrange the troops and head for the capital of Highland.

The goal for winning this battle is to have one of your units, not just Riou, end their turn inside of L'Renouille. This will require taking out at least Seed, Culgan, or Lucia's units who are placed at the gates. The first thing you should do is take Mazus' unit, who hopefully has the Cavalry ability, and unleash his Fire Magic in the middle of the Highland forces, then assault the leftovers with your strongest units; more than likely Georg, Boris, and Hauser. You can also use Luc's magic from afar along with Teresa's Bombard to take out a unit and gain ground on the city. When the battle is won, your party will be standing at the gates of L'Renouille. You will be promoted to form a party for the final dungeon of the game, but first, now that we are within Highland territory, we have several new things open to us, so exit out to the world map.

Northwest of L'Renouille is the small village of Sajah. If you bring Clive in your party, and are below 21 hours into the game, the final scene between Clive and Elza will commence if you have seen all of the others before this. The only reward for accomplishing this, other than the story itself, is Clive will have a different ending for his character when the game is finished.
There is an item shop here that contains a plethora of rare finds. The shop also normally sells Crimson Capes, which will be the last item to be added to your Castle's stores to complete them. At only +14 defense, the Crimson Cape really took a fall from the original Suikoden. The first item we can find in the rare finds is the Golden Hammer. This is the best hammer in the game you can give to Tessai back at your Castle to allow him to sharpen a character's weapon to the maximum of level 16.
The Horned Helmet also shows up here, and is the only place in the game you can find it. This helmet has a +5 defense advantage over the Flame Helmet, but doesn't provide the +4 to strength or the resistance to fire that it does, so you decide what your preference is.
The final items at Sajah Village are the Windspun Armor and one last Lamb item for Yuzu. The Windspun Armor is easily the best armor in the game at +65 defense, +15 to speed, and resists wind magic as its bonuses; although very few characters can equip it. Heavy armored characters can also use the Master Garb with its bonus of +15 to strength and tech, so in some instances, it could be preferred to the Windspun Armor, depending on your preferred character setup. Like the Horned Helmet, you will find the Windspun Armor nowhere else in the game but in Sajah.
When you take the Lamb item back to Yuzu at your Castle, her ranch will now be complete. It should contain 5 sheep (Only 4 used for the restaurant, as one is Yuzu's pet), 3 cows, 3 chickens, and 3 pigs.
With the completion of Yuzu's ranch, if you filled Tony's garden, as well as having fished 3 Salmon, Shrimp, Shell Fish, and White Fish from the dock mini-game with Yam Koo, along with obtaining all of the recipes and condiments in the game, Hai Yo now has access to create any dish in his cookbook. Only a small fraction of these are useful, but I will go over the ones that are.
- Meringue Pie (Kobold Pie + Mayo): Casts Clay Guardian during battle.
- BBQ Bomb (Teriyaki + Red Pepper): Casts Dancing Flames during battle.
- Red Curry (Curry Rice + Red Pepper): "Unique", small-damage, fire attack on all enemies.
- Matilda Course (Full Course + Mayo): Heals 650 HP + toasty (HP regen) status at 30% chance.
- Tinto Specialty (Full Course + Red Pepper): Heals 650 HP + berserk status at 60% chance.
- Queen of the Sea (Sashimi Combo + Sugar): Heals 700 HP + cures all status effects.
- Sweet Syrup (Special Stew + Sugar): Heals 750 HP + hyper (Increase magic, backfire) at 30%.
- Complete Kaiseki (Kaiseki Dinner + Soy Sauce): Heals 950 HP.
- Flaming Sea (Kaiseki Combo + Red Pepper): Revives a downed character with 1/3 of their HP.
- Mellow Stew (Special Stew + Mayo): Revives at 60% chance but restores 750 HP as well.
Unless you are looking for the added status effects, especially berserk, you are almost always better off using Kindness Drops or Healing Wind scrolls made by Raura at the Castle with Flowing/Wind Runes; they completely restore your HP as well as any status effects. However, the last two items provide the rare ability to revive downed characters that only the Resurrection and Flowing Runes possess. I prefer the Mellow Stew over the Flaming Sea, personally, although the Stew only revives at a 60% chance, it can be used on a live character to restore HP, while the Flaming Sea cannot.
Anyways, if you got the rare items from Whack-A-Mole, Karen's dancing, the Sound Sets, and having completed all of Richmond's investigations, your Castle should be 99% complete and we are ready to continue. Note: with the fall of Highland, we now have access back to Kyaro Town and the North Sparrow Pass dungeon. Nothing new at all is at Kyaro Town, but you can still get Winged Boots from the rare finds here. The enemies outside are still the same if you want to pick up some Technique Runes. As for North Sparrow Pass, hunting season is open for Cut Rabbits again to obtain Double-Beat Runes.
Actually, in Kyaro Town, now that I look closely, isn't that Poco in the pictures in some of the rooms?
Sure looks like it to me...Anyway, northwest of Kyaro Town, or southeast from L'Renouille, we can find the Tenzan Pass dungeon. While there are no events or treasure chests there, we can obtain some rare drops from the enemies.
You'll remember this place from the very beginning of the game where Riou and Jowy escaped Luca's attack on the Unicorn Brigade. The first thing you'll notice is that the name of the enemies here were never translated, so you will get these random symbols instead.
The Magus-looking enemies can drop the Wind Amulet accessory. This thing is somewhere in between the Winged Boots and Speed Ring at +12 defense and +10 speed, while providing resistance to wind magic. You can only find this accessory via drop.
The Minotaur-looking monsters have two very rare antiques to drop: the Lover's Garden and Nature's Beauty paintings. You cannot get these anywhere else but dropped here. They're rare, especially Nature's Beauty, so be prepared to be persistent in appraising those ? Paintings until you get one. That's all there is to do at the Tenzan Pass.
Before the final dungeon, the last thing to note is that the Minotaurus enemy outside of L'Renouille can drop Mother Earth Runes. These have been covered previously, but I wouldn't waste my time trying to get them to drop as they are found in the Gregminster rune shop's rare finds often. Are you ready to finish Highland once and for all? Then proceed to L'Renouille and the next chapter.