

The ancient tower of Ka Dingel has been unearthed in the center of a small, round island directly south of Rosetta Town. Land the Gull Wing and call the Earth Golem with the Ocarina to enter. Immediately upon entering, the party is met by Boomerang and Luceid. Zeikfried is planning to use the Malduke colony to destroy all of Filgaia, and we're not getting inside but through them.

Per-usual, because of Hi-Shield, this battle is fairly easy. Have Rudy use a Lucky Card, Cecilia cast Hi-Shield twice in a row, and Jack uses Cosmic Nova each turn. Then, have Rudy fire the Phaser at Luceid while building Force for Fury Shot, and Cecilia casting Slow and Armor Down, with a High Summon of Raftina when available. Once Luceid if finished, Boomerang will easily follow.


Return to the entrance of Ka Dingel and you will find Boomerang's Saber Fang on the ground. Having this in your inventory will allow you to challenge Boomerang to one last battle, but for now, let's finish things with Zeikfried. If you had any difficulty with the boss, you may consider returning to a town to rest and reload ARMs; the tower is going to be a long climb.


On the second floor, exit southwest, through the open three doors, then use the northern exit on the west-side. Bomb the cracked wall in the corridor and then step on the switch in the following room to unseal a door. Exit back south twice, into the room with the three open doors, then use the the door directly south. Note: The Amon enemies in this area you can steal Demon Rings and drop Nectars.


Circle around the area and step on the switch to place a knight statue on the lower-part of the room, then return south. Exit south again, then west and through the door. You'll be on the upper-tier of the three-doored room and can use the northern entrance to proceed. The next area you will use the door you unsealed earlier with the switch, then take the bottom-right-hand exit in the next room.


Climb down the stairs to the east to find more chests with a Magic Carrot and Mega Berry. Next, in the southern room, push the knight statue a small ways downward, then get behind it to the right and push it onto the area that is clearly-visible near the doorway; this opens the door to the next floor. Return to the previous screen with the four treasures, take the middle door that is now unsealed, and climb the stairs to continue. On the next floor, you'll find more chests with two Magic Carrots, then exit out.


There's a switch-lever puzzle in this room. Once you step on a switch, the door leading onward will lock. The goal here is to close the three doors behind you with the levers. As you're coming in from the left-side, don't step on the first switch, instead, walk around the room and step on both the right-most and middle switches, then, jump off the ledge on the right-side of the screen, enter through one of the doors, and lastly, pull the right-side lever to finish the puzzle leading to the next floor.


The following floor only has a single doorway in the center of the room that leads you to a treasure chest containing the Rudy-only accessory, Metal Shield. This is the best of his accessories that raise defense and parry, but not nearly enough to warrant equipping it over the Force Unit. It's, however, a one-of-a-kind item, so don't sell it by accident. Once you have it, continue to climb the stairs to the west on to the next floor.


The giant Fafneils have Agile Apples to pilfer, which are more easily acquired than the Mystic ones.


A whole bunch of levers here...And, as you might expect, pulling one adversely affects the ones nearby. To solve: pull the east lever, southeast, northeast, north, south, southwest, northwest, and finally, west, to open the way north to a much needed save point.


It must have been hard to conceal all that under a robe. Anyway, first turn: Rudy with a Lucky Card, Cecilia casts Awaken, and Jack with a holy elemental Phazer Zapp for huge damage. If Alhazad can't put you to Sleep, this battle is already won. You may want to cast Hi-Shield, but not totally necessary. Have Cecilia cast Saint and prepare a High Guardian Raftina for healing purposes, while Rudy fires his Phaser and then Fury Shots with the Wild Bunch to bring him down easily.


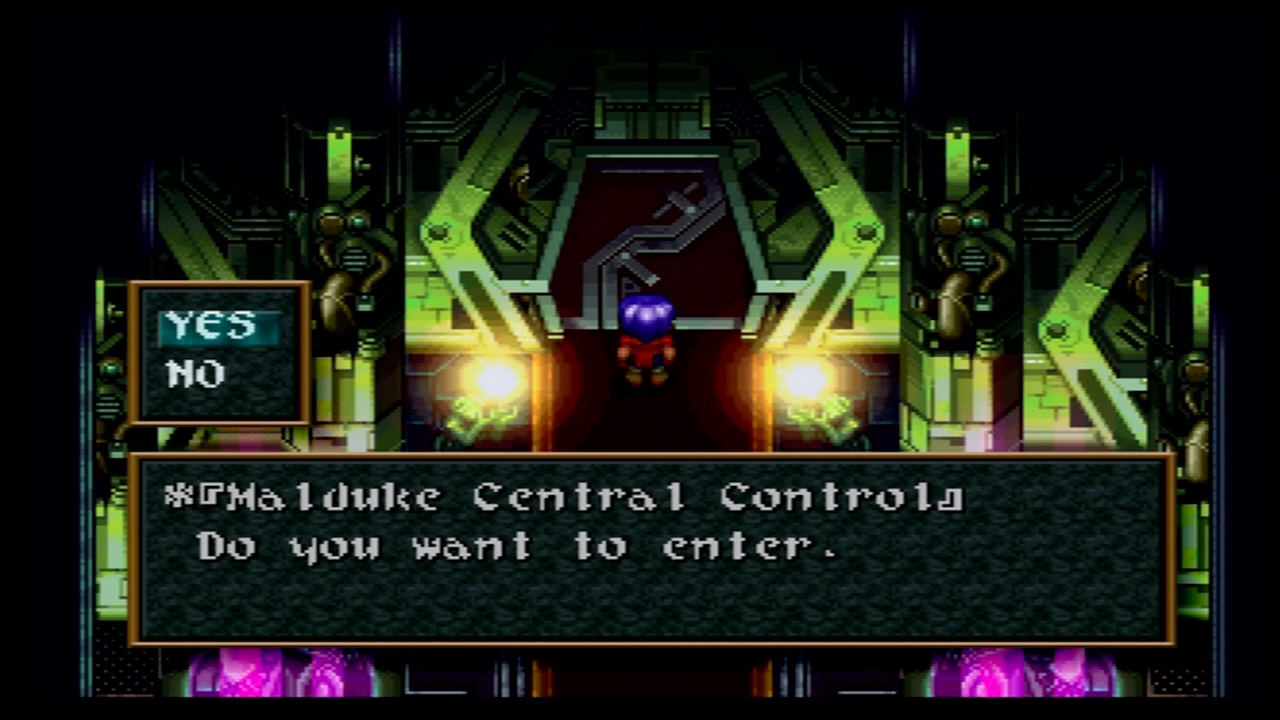
Beyond where Alhazad met his demise, step onto the transporter and select to be cast through the Sea of Stars to the final dungeon: the Malduke colony.


In the beginning areas of Malduke, the Tzar and Fesel Zein enemies can both be pilfered for Secret Signs, which they also will drop. The steal is hard to come by though, so Lucky Shot is probably your best bet to farm them here.


On the east-side of the dungeon now, enter the pipe to the right of the stairwell and follow it down to a Bullet Clip and Rudy's final ARM, the Arch Smash. Although not much at the moment, with a ton of Gella and upgrading, it will become Rudy's most powerful ARM and has the ability to effect all enemies. Return through the pipe to the previous screen, but take the door to the left-side this time.


Once you have the Princess Rod, enter the pipe again and head east, south, a tad west and out to another treasure chest containing Jack's Violator weapon. This is, in my opinion, Jack's second-best weapon and you can replace the Black Feral with it. It's also the only one you will find in the game.


Descending the stairs, enter the far-right room to find the final save point in the game. This doesn't mean, however, the final battle is imminent, we still have a ways to go. To the north is a portal, and when the switches inside the save room are neutral, it warps you back to the entrance of Malduke. I recommend you use this now to return to Filgaia to upgrade Rudy's Arch Smash and regroup yourself for the looming battles. To continue with the dungeon, activate the left-most lever and the green panel will glow switching the above portal to Malduke's Residential District. Once you warp over, you'll find a monument telling you that the town is full of lies, and you can take the stairs into the ghost town. Before continuing, I highly recommend equipping someone with the Wind Vane accessory.


As for the town itself, there's absolutely nothing here; not even any items in the barrels. The idea here was to send you on a wild goose chase, door-to-door, where you can listen to the ghosts lying to you about the treasure's location. Let's just cut out the middle man and go north to the graveyard and take the Wings item from behind the large tombstone. Return back to the save point area of Malduke, pull the left-most lever to deactivate the green circle, then pull the right-most one to activate the blue circle, then back into the portal to Malduke's Statue Area.


From the beginning, exit south twice, then you'll be in a large, two-tiered room with multiple exits. Work your way around to the top-tier southern exit and jump off the ledge in the room. Exit to the west, and Bomb the large rock in front of the ladder. Climb the ladder to return to the top, but this time, exit through the door to the northeast.


The blue doors are now open and the red doors are shut, just like back at Pandemonium. Enter through the only open doors, then Bomb another large rock to access the ladder. Climb the ladder and return through the northeastern exit. You can now walk down through the middle door to access three treasures all containing the character's second-best armors: Assault Coat, Filgaia Robe, and Jolla (Jolly?) Poncho. The Filgaia Robe, when combined with Mystic, casts the Eraser spell. Switch your new armors for your character's current ones and then exit southeast again to activate the switch. Once more, enter via the western door, climb the ladder to the left, then make your way to the ladder on the right-side of the room. Walk through the open door and step on the switch to move a nearby statue. Then, once more, return to the switch and activate it again.


The Mine Area is large, but only a small amount of the area needs to be explored. The Eldersinks in this area have Mega Berries to steal and drop, while the Pythons (In the lava-covered depths) have Nectars to steal and drop, as well. As soon as you warp into the area, proceed south, west, east, and have Rudy Bomb the pile of rocks covering the eye relief. There is an optional boss in this area also, like the Statue Area, but I will be covering it in the next chapter.


With the Wings, Arms, and Eye in your possession, exit back out of the central save point room and through the door on the far-west end of the corridor. There are two treasure chests containing Nectars on opposite ends of the room, and then three pedestals before the door. Color-coded, place the Wings, Eye, and Arms onto the pedestals and the door will open. Through the door, both sides of the stairwell contain Magic Carrot treasures, then you can descend the stairs. Note: The Cyclops enemy roams around this last leg of Malduke. You can easily farm Bullet Clips as a steal and drop from them, but make sure that you cast Lock State.


It can drop the very nice Force Unit accessory. However, you're either going to need some really good luck or to Lucky Shot it to get one. Unfortunately, Lucky Shot does 0 damage, but with a strategy, we can get it done. Equip Cecilia with the Necronomicon and the Chrono Rune , then start the battle by having Jack use Divide Shot six times to drop Doomsday's HP into Lucky Shot range. While you're doing this, have Cecilia cast Dummy Doll on all three characters to prevent counterattacking (They will, unfortunately, still counter if they evade), and then cast Banish to lower its statistics. With Banish inflicted, Lucky Shot will be able to do a minimum amount of damage to take Doomsday out, netting you a nifty extra Force Unit.

The remainder of Malduke is entirely linear; with no deviations or
treasures. Keep following the path until you arrive at a room being
swept by a spotlight. Let it find your party to engaged in a mandatory
boss fight. The golem Berial is really fast, so have Cecilia cast Slow Down as quickly as possible. Afterwards, have her cast Hi-Shield twice, and repeat if Berial casts Armor Down, and casting Saint for offense. Rudy should use a Lucky Card, then fire the Arch Smash, if you left to upgrade it, or the Phaser until he builds to Fury Shot with Wild Bunch. Jack can use Trump Card at full HP, then switch to Magnum Fang afterwards. Berial hits hard physically, so you may need Jack to step in with emergency healing, but with being persistent with Hi-Shield, you shouldn't have too many issues.
When the battle is over, work around to the backside of the room and open the Ambrosia treasure, then descend the stairs in the middle that were unsealed by Berials defeat. Walk south into the next area and the door will lock behind you. The right-side exit takes you to a transporter that will send you back to Ka Dingel, and after the door shut behind you, is the only way to leave Malduke. I highly recommend you return to Ka Dingel and Filgaia to rest, resupply, upgrade the Arch Smash if you haven't, and reload Rudy's ARMs. Not only for the final battles, but we will be facing off against two optional bosses afterward, as well. Remember: once you return to Malduke, to go back to the room with the levers and portal to save your game.

Zeikfried has changed from wanting to rule Filgaia to burn it to ashes with Malduke. Begin the battle with Cecilia casting Slow Down, Jack with Trump Card, and Rudy with the Phaser. Once you've got him slowed, cast Hi-Shield, and then Protect on both Rudy and Jack. Also, don't spare any items going forward. Use any Ambrosias you have for emergency healing or Mystic + Mega Berry.


Zeikfried's final act of treachery will be to envelop Filgaia entirely in darkness. Suddenly, Mother will emerge, having finally been able to consume Zeik from the inside out.

Even with Mother finally dead, Filgaia remains enclosed in darkness. However, the Guardians and the Tear Drop will begin to resonate. The true "Absolute Power", the light in people's hearts, will lift the darkness from the planet below and the party is eager to return to it. Don't be fooled by the cheery music: it isn't over yet. Heal your party, maximize your MP with Magic Carrots, and reload Rudy's ARMs with Bullet Clips. Attempt to use the transporter back to Filgaia...

Zeikfried has returned from hell as the Blade of Vengence: Zeik Tuvai. This is going to be the final battle; use everything you have at your disposal.


Unfortunately, the battle has created a serious unbalance in the dimension transfer and the party is at risk of being torn to pieces. The trio is then transferred to the base of an exploding Ka Dingel. The Earth Golem, of his own will, activates his Anti-phasing Shield to protect the party from the explosion. Ultimately, he is able to defend the heros, but has lost one of his arms and been returned to his slumber; having been used to defend rather than a fighting machine. Cecilia will say goodnight to the Earth Golem, hoping that one day it will awaken to a free and prosperous Filgaia.

Rudy and Jack, having left Adlehyde, will be on their way to a new journey when Jack remembers a letter than Cecilia asked them to read once they had departed. Cecilia will reminisce about their travels together and was naive in thinking that they would last forever. She, however, has bigger desires in her heart other than being the Princess of Adlehyde. She wants to continue to protect Filgaia with her own hands and lets the guys know that they will be receiving something they left behind. Hiding behind a nearby tree, Cecilia will appear and rejoin with Rudy and Jack on their travels through Filgaia. Happy to be back together again, the trio will overlook the beautiful world they fought so hard to protect.
