

After the encounter with Diaz, we find the party crossing the desert on their way to the Wingly city of Ulara, but first, they must survive the Death Frontier that stands between them and the city: it's here that the game's final chapter begins, Moon & Fate. When in control of Dart, you can go down into a cave under the desert to the lower-left to view a small scene between him and Albert before you begin your advance through this maze-like wasteland. There won't be any random battles here, but if you come in contact with the inhabitants, that naturally are hunting Dart, you'll be thrown into a battle. If using Albert/Lavitz, I recommend you equip them with the Twister Glaive as almost all of the enemies here are earth-based ones. One last thing, the Scorpion monsters will sometimes drop Poison Needle items which are necessary to defeat our next special monster. You will be able to purchase them in the next town, but if you get some free ones, don't throw them out.

I'll try to simplify my directions through the area as best I can to locate all of the items scattered about. All screens have multiple exits; including ones dropping Dart into sand traps that are required to pick up most of the items. Beginning from the screen to the south of the starting area (With the entrance to the cave) move: left, down, down, right, and then up to a screen surrounded by whirlpools. In the center is a treasure chest with a Healing Breeze inside.


To the next item head: left, down, down, right, down, left, and in the lower-left corner of the screen you can pocket a Healing Fog.


Starting over, move Dart: right, down, down, down, and on this screen, you can use the sand trap to the left-side to access an underground spring to restore the party, but it's not necessary since there is another one a few screens away. Continue: right, passing through a midway point, then right once more to arrive at a screen with a recovery oasis and save point. Here, Rose will attempt to take the burden of the Moon Child and Zieg upon herself, only for Miranda to slap a bit of sense into her that they are all in this together. After the scene, trek: right, up, right, down, down, and in the bottom-right corner there is a chest with the Gladius weapon for Rose in it that has the instant death additional effect.


From the oasis: up, left, up, up, and in the middle of the sand is a treasure with a Power Down inside. This extremely useful, once-per-battle item, drops all statistics of an enemy, except for Speed, for three turns.


Once again from the oasis: up, right, up, left, up, up, and you'll find yet another oasis and save point. From here: left, up, up, right, right, and crack open the Healing Potion chest to the top-right.


At the entrance of Ulara, Rose will use the choker that grants her immortality to open the way to the Spring Breath Town, but before you enter, snag the Sun Rhapsody chest nearby. Within, the party will meet the town's guardian, Caron, who welcomes Rose and her companions. From there, use the path leading to the right-side, then follow the path to the northwest.


Afterwards, search the rose-covered fountain to pick up a Stardust, then use the lower-left exit and the following portal to find the shopping area.


The item shop has Panic Bell, Stunning Hammer, Poison Needle, Midnight Terror, Attack Ball, and Recovery Ball items all finally available for sale. Pick up several Poison Needles as we'll be going special monster hunting when we leave Ulara.


Return the way you came and at the fork you took northwest to the rose fountain area, use the path that leads to the northeast, this time. Here, you'll meet Miata, another longtime friend of Rose. You'll learn a little from her about the Signet Sphere, but will need to speak with Charle Frahma to be told everything. From there, search around the piranha plants (?) for your 49th Stardust. Only one more left to find. You can then talk to a nearby Wingly to learn about Melbu Frahma and his right-hand man, Faust, whom we met at the Tower of Flanvel. Apparently, we need an item known as the Vanishing Stone to challenge him. Moving on, exit to the west and use the teleporter to enter Charle Frahma's residence.


Once the talk is over, Dart will be free to explore the town during the twilight. Before leaving Charle's house, use the teleporter to go upstairs and take a chest containing a Moon Serenade.


To find Albert and Kongol, head for the shopping area past the rose fountain. Here, both are resolved to see everything through to the very end. Also, only during the night, which occurs at random each time you enter Ulara, you can use the portal behind the counter to access the actual item shop, although there is nothing to be found there. Meru is waiting for you at the entrance of town. Caron will inform you that they've already sent an emissary to the Twin Castle to tell them of your arrival to use the Queen Fury to leave for Rouge in the morning.

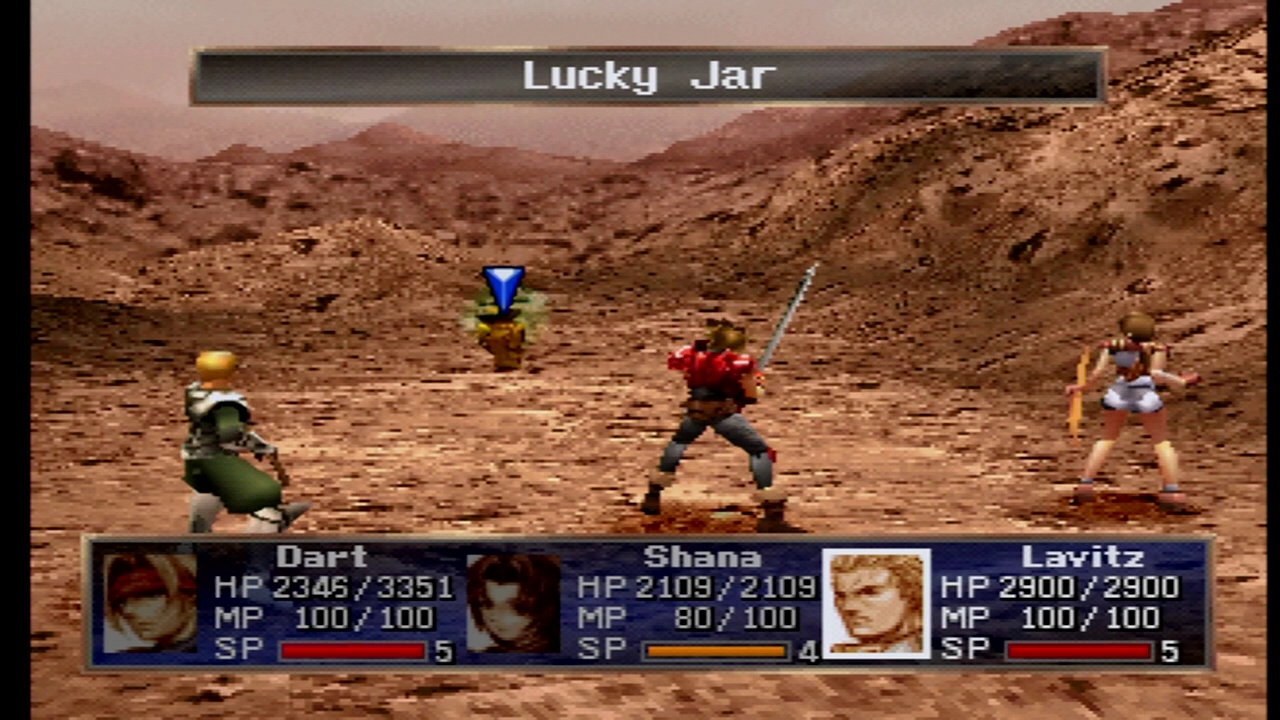
Outside of Ulara, near the Death Frontier, you will encounter the Lucky Jar frequently. The bad news is, the special monster's HP has gone up to 6, but the really bad news is they are now invulnerable to all damage. So, how can you defeat it? The only thing that can damage it is poison; hence why we've been gathering Poison Needle items. Alternately, you can try to poison it by using Miranda/Shana's Virulent Arrow weapon. Once poisoned, wait for it to take 2 damage, and hopefully doesn't run, then throw the Magic Signet Stone, and it will die on its sixth turn.


Passing back through the Home of Giganto, if you want to farm any Sachets from Piggies for the upcoming, last special monster, do so now. Also, if you'd like to see the rare damage cap of 9999, with Dart's Blazing Dynamo addition's level maxed out, encounter a Berserker, throw the Power Down on him, with the Power Up item on Dart, and you should easily land the maximum amount of damage.


Before setting off, you can view even more scenes inside the Chamber of the Sun and both Emille and Lisa's rooms. When ready to leave, enter the port area, which there are two doors to near the Castle's save point, and let Commodore Puler and Kayla know you are ready to set sail. Out on the waters, you can still enter inside the Queen Fury by using the Square button, although there is nothing new to be found other than using Miranda in the Julienne mini-game. The enemies are also the same as the travel between Tiberoa and Mille Seseau, with one exception...


The prize? 3000 EXP, which is the highest for a non-boss in the game, and a rare chance at dropping the Rainbow Dress armor. You'll find a piece of this armor later, but I highly recommend you try to get one to drop for every Sachet you have. Not only is this the best armor for the females right now, and the best armor in the game for Meru, besides the Armor of Legend, but it also sells for a nice 250G. While the EXP is nice, in my opinion, it's not worth the time to get additional Sachets to use. When we reach the final dungeon, there will be an enemy that rewards 2000 EXP that we can use to reach the maximum level of 60 much easier. When finished with the Rainbow Birds, sail the Queen Fury on the straightforward route to the Outland Village, Rouge.


After the talk with the Mayor, use the door to the north to find Martel nursing her sick daughter, Lil. For the moment, head past here and out to the left-side to find a semi-hidden area. Here, there is a crate with 100G inside, then search the large jar in the lower-right corner to find the final Stardust of the game.


Back in the center room with the Mayor, descend the eastern-most ladder and follow the path to find the Satori Vest for Haschel that is a one-of-a-kind item.


To continue the story, at the entrance of Rouge, exit to the south and follow the rounded path to an overlook of the surrounding sea. The party will notice the "stick" the villagers were talking about and Rose will speculate that it is actually the Magical City Aglis. You'll then have the opportunity to learn more about the Wingly cities that have held Signets. Unsure about how to advance to the Magical City, attempt to head back to Rouge and you'll see a scene of some peculiar characters watching the group. Then, suddenly, a path toward Aglis splits itself through the sea, beckoning the party. Return to the boat and select to head for the Magical City Aglis to continue, but make sure you've resupplied your items as you won't be able to leave once inside. Before the next dungeon, since we've had so many changes in equipment lately, I want to update what my characters are currently using.
- Dart: Soul Eater, Phoenix Plume, Saint Armor, Magical Greaves, Therapy Ring
- Albert/Lavitz: Partisan, Phoenix Plume/Knight Helm, Armor of Yore, Magical Greaves, Spiritual Ring/Angel Scarf/Bandit's Ring
- Miranda/Shana: Arrow of Force, Jeweled Crown, Rainbow Dress, Magical Greaves, Giganto Ring/Mage Ring
- Rose: Gladius, Rose's Hair Band, Rainbow Dress, Dancer's Shoes, Dragon Shield
- Haschel: Brass Knuckle, Phoenix Plume, Satori Vest, Magical Greaves, Sage's Cloak/Attack Badge
- Meru: Heavy Mace, Dragon Helm, Rainbow Dress, Magical Greaves, Therapy Ring/Giganto Ring
- Kongol: Battle Axe, Magical Hat, Giganto Armor, Bandit's Shoes, Angel Scarf/Spiritual Ring