The demon castle, Pandemonium, can be found by flying southeast from Port Timney. It is easily-noticeable being surrounded by mountains.
Outside the castle, we can frequently encounter the Shelzaurus monster. You can steal the best recovery item in the game, Ambrosia, from them, and they also will drop it. This is absolutely the best place in the game to farm this item. Jack can steal it with decent success, and while it is immune to Prison, its fairly low HP makes it easy to set up a well-placed Lucky Shot.
Pandemonium? I know this place. Although, this Pandemonium is more
Castlevania-like than the jewel-encrusted other one you may know. Anyway, the Zoa Zein enemies you can steal Secret Signs from; while also dropping them. These are, of course, excellent! Even better, they have high HP and like to defend, so multiple chances to use Trickster are likely. Prison, unfortunately, isn't going to work with these, either, but if you use Analyze, you can set them up for a Lucky Shot.
The cousins of the De Le Metalica's MysticPots, Stux, are here, as well. They love to flee, but you can have Jack attempt to steal Nectars and Cecilia cast Hi-Prison to Lucky Shot them next turn for an additional one.
The Ganondorf lookalike, Karons, Jack can steal his own Gauntlet accessory from, also. You should already have one, but this is the only place in the game you can obtain multiple.
At the start of the dungeon, enter the castle north under the glittering, crystal chandelier and take the stairs to the next floor. Exit northwest to find the Mind Gem accessory. This is the MP version of the Talisman; restoring MP every step you take outside of and every turn inside battle. Unfortunately, it only heals 1MP per turn in battle, which makes it fairly useless in combat. However, I think this works great equipped to Jack for exploring outside of battle. The Mind Gem is also a one-of-a-kind item.
Exit back out to the previous room, then directly south through the pathway. Hit the switch on the center wall to alternate which door is open. Follow the linear path around to a room in which you will find a Mega Berry chest and a save point. Equip Jack with the Thunder Ring, climb the stairs, and around to the east entryway to find Lady Harken, or Elmina, Jack's old friend, being held by Alhazad.
He has a minion ready for you to fight, of course. First turn: have Rudy use a Lucky Card, Cecilia cast Hi-Shield, and Jack use the lightning elemental Phazer Zapp. From there, Cecilia should Dispell if Turask casts Shield on himself, Hi-Spark for offense, and Mystic + Antidote if the party becomes Poisoned. Save Rudy's Force for Fury Shot with either the Rocket Launcher or Phaser. If you keep Dispell cast to nullify his Shields, you shouldn't have any issue defeating Turask.
It's a nasty trap set up by Alhazad, of course, and he captures the party and locks them up in the dungeon of Pandemonium. Thankfully, there just so happen to be tunnels that Hanpan can scurry through, so have Jack talk to Hanpan to take control of him.
In control of Hanpan, exit through the hole in the northeast corner and follow the path around to the southern exit. Outside the cells, take the middle path in between the torches, then east to another mouse-shaped hole in the wall before the path turns. In this tunnel, you want the exit to the northeast, not the one to the south; this will deposit you next to a set of stairs to climb. Ascending the stairs, enter the door to the north to find a solitary room where Hanpan can jump up and activate the switch to open the cells.
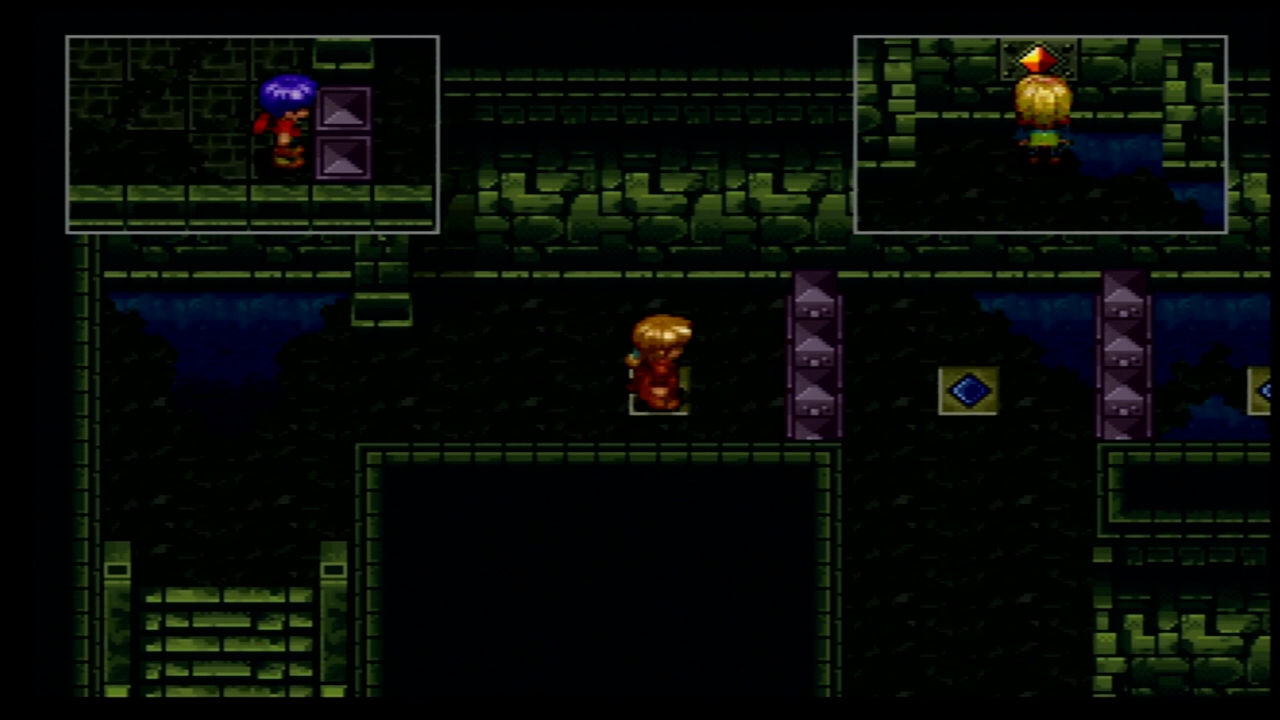
You'll first be back in control of Jack, in a Tripillar-like dungeon where the party has to work separately to escape, but this time, the order in which you switch characters is vital. To begin, switch to Cecilia, have her ascend the stairs outside her cell to the left, then enter the middle room and activate the switch, followed by switching back to Jack.
Equip Jack with the Blue Circlet accessory, as the Aspik enemy he can encounter likes to use paralysis, and that can spell a death sentence if not careful. You can steal Ambrosia from the Aspiks, as well, but I recommend you kill them as quickly as you can. The rest of the enemies Jack can easily handle with basic attacks and Guilty Blade. Exit Jack's cell and take the exit to the north. Enter the cell on the bottom left-side and take a Magic Carrot out of the urn.
Still on the bottom half, get a Lucky Card in an urn inside the first, right-most cell.
Move north through the middle path, and enter the first cell you encounter to find a Secret Sign stashed away in an urn. Then, the cell to the right of it, has another Magic Carrot in an urn. Before continuing on, make sure you have grabbed all the items in the room, as once your party is together again, you will be unable to return to this specific room. Finally, ascend the stairs to the northeast. Step on the switch to the right-side to lower a barrier blocking Rudy's path and then switch to him.

As Rudy, search the urns inside his cell for a Bullet Clip, save, and take the stairwell to the south. Once the characters rejoin, you won't be able to come back for the Bullet Clip until the scenarios at Pandemonium are finished. Follow the path, past the barrier Jack lowered, then south through the door to a sealed one. Switch to Cecilia and have her activate the switch she is near again, followed by switching to Jack. Move Jack through the exit south and to the right to find another switch on the wall. Use it to unblock both Rudy and Cecilia's paths. Switch back to Cecilia and Rudy and move them past their respective doors; Cecilia to the west, and Rudy to the south, followed by again switching to Jack and hitting the switch once more.
You can then follow Jack's linear path to a switch and wait for the other characters to finish their portions.
Switch to Cecilia; she doesn't need the Blue Circlet, so stick with the Necronomicon. Cast Hi-Flame against the Flurity duo, Saint on Tereons, and Hi-Spark on the Hecarde trios you will encounter. With Jack having flipped the switch a second time, the red door to her left should be open and she can proceed north. As she takes a left, cross over the switch to lower a barrier in Rudy's path, then follow the linear path to a staircase and the switch at the end of her section of the dungeon.
With just Rudy left, he should be positioned behind a sealed blue door. For battles, I recommend, with the Force Unit equipped, to just defend until Rudy reaches Force level 2, then summon with the Hades Rune to wipe the enemies out. If you encounter a Karon or Tereon, use Rudy's lesser ARMs, like the Hand Cannon or Twin Orbs. From Rudy's position, head south, then east through the corridor to the next area. Take the northeastern exit, then east past a barrier Cecilia lowered, and the right-hand southern exit to a flight of stairs. In the follow room, ignore the middle path and use the left-hand-side door to emerge near the third, and final switch. If you're curious, the door up the stairs leads back to the area Hanpan pulled the switch earlier. Once you've stepped on the switch, our trio is joined together again.

The party regrouped, head back down Jack's (West) path and just to the left of the switch, Rudy can Bomb the wall to claim an Ambrosia and the final two Crest Graphs in the game. These items can be permanently missed once you complete the Pandemonium section of the story, as the only part that you can return to will be Rudy's afterward. From there, return to the meeting place, then south back into Rudy's area. Attempt to take the middle path in the next room and the demon guarding Pandemonium's prison will stop you. Tell him "No" to returning to your cell and you've got yourself another boss fight.
At the beginning of the Demon Prophet battle, have Rudy use a Lucky Card, Cecilia cast Slow Down, and Jack use Magnum Fang or Slash Rave if his Luck is "Best". This boss is almost all magical, so the following turns cast Protect onto Rudy and Jack, with Rudy firing the Phaser ARM until he has enough Force to use Fury Shot. If Cecilia has an extra turn, cast Remedy or Armor Down, but otherwise, wait for her Force to build to lvl 3 and High Summon Raftina.

Climb the stairwell afterwards to return to the upper-tier of Pandemonium. Combine Jack with Hanpan to activate both switches and the southern exit will take you back to the save point room. Unfortunately, you cannot exit Pandemonium as, because of the switches in the prison, the blue door leading back toward the entrance is now sealed and there is nothing we can do (Can't cast Escape, either). You will be able to access the entrance again after the story segments here, though. For now, use any Magic Carrots to restore MP, and follow the linear path north of the save point to the area Alhazad captured you and from there, continue north to our third, and last boss of the dungeon. If you're low on MP and don't have any Magic Carrots, back down in the prison, the Flurity enemy frequently drops them.
Shazam is significantly harder than the previous two bosses here. On the first turn, have Rudy use a Lucky Card, Cecilia cast Lock State, and Jack use Magnum Fang. Make absolutely sure to recast Lock State after every three turns, as Shazam's Shriek attack can induce a myriad of status effects on the entire party. Other than Shriek, Evil Ray does a respectably amount of damage to the
entire party, and he will try to instantly kill a character with Fatal
Blow. With Lock State in place, cast Soul Guard on, at least, Cecilia, and the following turns use Slow Down while building Force to summon Raftina. Rudy, like usual, should use Phaser/Rocket Launcher and build his Force up to Fury Shot with them.

After the battle, continue north and choose to enter into the final room. Inside is the Darkness Tear with Harken trapped within it. Zeikfried and Alhazad will taunt the party, then use the Darkness Tear combined with the Elw Pyramids to rain darkness over the entirety of Filgaia, in an attempt to permanently silence the Guardians. As natural disasters begin to envelope Filgaia, an enraged Jack will repeatedly charge the Darkness Tear until it finally cracks and shatters...Saving the Guardians, Filgaia, and Elmina, at least for now.
The party will rush an injured Jack back to Adlehyde Castle, where you will see flashbacks from Jack's past from his days in the Arctic Knights with Elmina and how he obtained the name "Van Burace"; the protective hilt to Elmina's sword. When Jack comes to, he asks the party to come with him to Arctica Castle where he has some unfinished business awaiting him.

Leaving the castle, you'll notice that Adlehyde has grown and there are new houses in the northeast, but no items to collect there, sadly. Now that we have the final two Crest Graphs in our inventory, make your way to the magic build and bind the spells: Bomb (White: Fray-Fray) and Randomizer (Black: Muse-Fray). This should completely fill Cecilia's magic list in the main menu. It it doesn't, you must have missed a Crest Graph somewhere along the way. When Bomb is cast on a character, it basically guarantees a counterattack, but instead of physical, it is a magical attack. Which isn't bad for Cecilia, but should definitely not be wasted on the other two characters. The Randomizer spell produces a wide-variety of enemy-specific spells (Such as Ice Needle, Gaia Crash) and some unique ones like Hi-Rainbow, Best Shot (More powerful Lucky Shot), and Hyper Plus (Hyper on entire party). There are potential negative outcomes too, like Silence, Sleep, or Paraylsis that are used on your entire party. This is more of a gimmick spell than anything, and, in my opinion, shouldn't be given much consideration for use. Since you won't find anymore Crest Graphs, if you want to save one for your inventory, I suggest you unbind a spell like Confusion that isn't of much use.
Over at Mayor Cuthburt's house, you can make two new donations in the form of 30,000, and then 50,000 Gella increments. Remember, you need to leave town and then reenter for the town changes to take effect and be able to donate the next amount.
Visit Engineer Tom in the house next to the magic guild, and if you picked up the Secret Tool back at Vassim's Lab, he will use it to repair Zeldukes' Guardian statue to the north of the church/graveyard. Once repaired, search it and the Guardian will come alive again and grant you his Castle Rune. The Castle Rune gives a large Vitality boost, but nothing else. Its Guardian Summon, which increases the entire party's defense, is also rather useless with the existence of the Hi-Shield spell. I feel like they should have had this raise magic resistance instead, but anyway...I don't personally equip this Rune, but you decide for yourself.
Lastly, if you have donated up to 30,000 Gella to the Adlehyde Restoration Committee, Drake, Bartholomew's old rival, will be living in a new house in the northeastern corner of town. Talk to him and he will tell you how he found the remains of the Sweet Candy washed up on the shore of the Ship Graveyard. He'll have pity on Bartholomew and will, with no charge, have restored the Sweet Candy and it's now out on the shore waiting for you to use again. This is mainly to fight an optional boss, but it is also nice if you still need to collect any of the bottles floating in the sea you may have missed. That's all we can do for the moment; next up: Arctica Castle, as we press on towards the finale of Wild Arms.